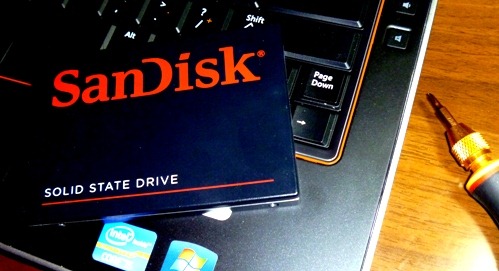
SSD is brilliant faster in random IO access; I have 5GB+ email which I searching on my daily job, all emails is a one big MS Outlook 2007 PST file. When I store this file in SSD, it takes less than 2 second to get the final result, but if I such file store in the the HDD, it takes 20+ second! So after I setup my new working PC, I quite missing my SSD and finally decide to switch to us my 2 years old the SanDisk SSD.

I read quite a lot of essay/blog/discuss via Google, and finally find one very clear and detail Guide in SSD freaks, in general, the migrate path is quite clean, Install the whole system in HDD, do disk defrag (recommand using Perfect Disk which provide 30 day trail, which is enough.) and put all files in front of the C system drive. The latest file position is the maximum allowed to shrink position, so you must shrink the C drive below the total capacity size of the SSD. Only by that, it is possible to restore the whole Windows 7 system back to the SSD.
You can also make a SSD wipe or called “Secure Erase” via running DiskPart command “select [SSD disk number]; clean all” command, which is widely say will make the SSD drive back to the facture initial status.
But my first migration attempt is totally failed and Windows 7 just report the source drive is larger than destination drive and stop when restore the whole system to the new SSD. But in fact, at that time, my C drive is only 67GB and my SSD capacity is 120GB, so it should be working according to the SSD freaks guide.
After try hard to search and read almost whole night, finally got the root cause: In Windows 7 (Enterprise/Ultimate), there is a feature call Bitlocker which will create a BDE drive and normally will be put in the end of the HDD drive, so it will totally prevent you done the shrink job because the end of the HDD become the whole disk in the perspective of Windows 7 Restore. Anyway the solution is always easy:
At a command line (as Administrator) running: ‘bcdboot c:\windows /s c:’, then in the disk management MMC console Right click the c: partition and set it as active -> Reboot -> now it is possible to delete the BDEdrive partition.
Finally at the moment of writing, I’m running SSD on my new E6320 now!
PS: there is also a good optimize guide available if you are as exciting as me and want to make PC running even more fast.